Wednesday, 13 August 2014

McCall's 5050

This one's a new one for me. I had been looking at this particular fabric for a while, but couldn't think of the right place to use it, since it was so lightweight. I decided the best thing to do with it would be a nice, flow-ey, peasant blouse.

Pattern Used: McCall's 5050

Pattern Details: Peasant-style blouse with sleeve variations

Fabric used: Lightweight cotton

View Made: A

What did you especially like about this pattern? I like that I don't need to interface anything, and I like how simple this pattern is in general. It only took me about three hours, start to finish.

What did you dislike about this pattern? Not a whole lot.  I found that once I had made the elastic casings and left the opening, it was hard to stretch the elastic so I could sew my casing down flat. Other than that I had no problems.

Did you change the pattern at all? Nope. However, I didn't use the elastic guides provided. Instead, I just measured the elastic to my body to make sure it was the right length.

Final Thoughts: This turned out well, the fabric was easy to work with. I will be making this again sometime.

Pictures:
Front View

Back View

Bow
 
By the way, I don't know why these pictures turned out blurry, but they'll have to do.

Friday, 8 August 2014

McCall's 6696 Revisited

Recently, I made another "copy" of a dress that I made back in June. I really liked the original and had fabric and buttons for another one.

I made another shirt-dress from McCall's 6696. For the original review, click here.

I have no really new information to add on this pattern, other than I've decided to stop pressing the edges of pieces up before I sew them. If you sew them first, then pin it in place, you can press the edge evenly along the seamline, covering all that you need to, as well as making the inside look nearly as neat as the outside. (I'm talking about the waistband here, where you are supposed to press up one edge at 5/8", then sew it over your interfaced waistband and skirt, then slipstitch it down.)

As per usual I didn't slipstitch anything on this pattern, instead I did a lot of edge and topstitching, hence the new technique for pieces that should be slip-stitched.

A note about this fabric. I really love the way this fabric looks and feels. I'm pretty sure it's a poly-cotton blend, that's heavy on the poly. It was quite hard to work with, however. Because it is so light, it tucks like nobody's business and it frays really badly. I ended up finishing all my inside seams with a zig-zag stitch. It was also kind of hard to hem, because of the tuck-ey-ness. In the end, I think the result is worth it. It's almost a vintage look. :)

Pictures:

Front View

Back View

Close-up of topstitching and fabric. Notice the white striation to the fabric.

Edgestitching along the button strip.

Tuesday, 5 August 2014

McCall's 5523

This pattern's a good wardrobe staple. It's not exceptional in the looks department (but that may be due to my body shape. I don't think pencil skirts are my thing). Anyway, here's the review:

Pattern Used: McCall's 5523

Fabric Used: Grey Suiting

Pattern Details: Pencil skirt with princess seams and back insert.

What did you especially like about this pattern? It came together really easily and I like the different options for the back.

What did you especially dislike about this pattern? Nothing really. It was a simple, straightforward pattern.

Final Thoughts: I wish that I had realized earlier in this project that the seams were puckering slightly. I also wish I wouldn't have hemmed the larger circle insert before inserting it. In the end, I had to cut the hem off and do it again. Finally, I wish suiting pressed nicer. I didn't want to edge and topstitch all the seams, but that's what happened.

Pictures:

Front View

Back View
 
Sorry for the short review, but I find that this pattern really is as easy as presented. I can't really think of anything to say about it.

Saturday, 2 August 2014

Vogue 8470 Revisited

So I did say that this pattern was on my list to make again. I finally got around to it, and I am very pleased with the results.

Since I've already made this pattern, I won't review it again. If you want to read the full review, you can do it here.

I really like how this turned out. I used a really lightweight, white, embroidered fabric for the top, and a cotton-candy pink broadcloth underneath. The white softens the pink of the broadcloth, and the pink gives a little colour to the white fabric on top. It's a nice balance.

I didn't have any problems with this pattern, really. The only things that were problematic were the ruffle and the halter top itself, a little bit. For the ruffle, I couldn't figure out the markings. You'd think, with all the sewing I do, that wouldn't be a problem, but after fiddling with the ruffle for about an hour, I laid the skirt out flat on the floor, and adjusted the ruffle to fit evenly around the skirt, disregarding seam matching (GASP!). I figured the ruffle itself would disguise that the seams don't match up. However, I DID match the back skirt seam to one of the ruffle seams. AND, since the fabric was so light-weight, I kept sewing bits of the skirt in to the ruffle seam, and then had to rip it out. At least you hem the ruffle before putting it on, so that means less circle-skirt hemming.

For the halter top, I don't really understand what Vogue is trying to teach me by having me construct the complete bodice in lining and good fabric, and then attaching the two around the edge. If I ever make this again (which I might), I'll put together the halter pieces with their lining, then sew those to the midriff piece, then attach the lining over the back. I think that method would give me more control over the look, placement and fit of the halter pieces, even if it is a bit more fiddly to attach the midriff lining after.

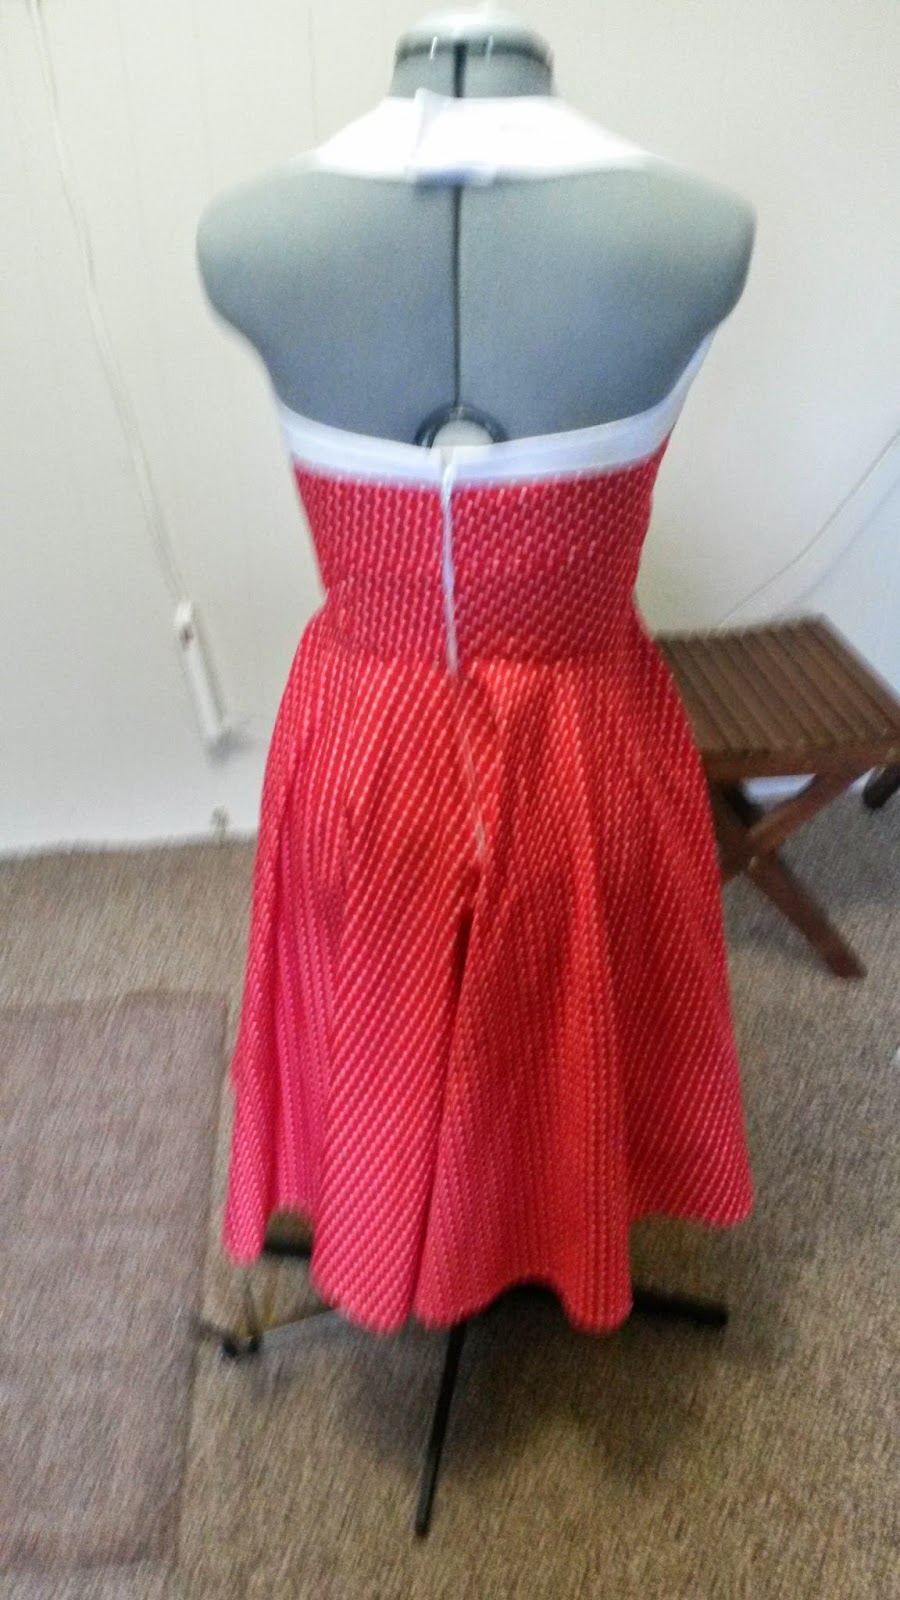
Finally, since this is a halter dress, I had to take in the back at the zipper, a little bit, just to make sure the back was snug.

Final thoughts: RUFFLES!!!

Pictures:


Front View

Back View

Close-up of Fabric Combo

RUFFLES!

Thursday, 24 July 2014

McCall's 6956

So this one's a bit of a flop. It really just lacks wearability. It's still cute, but could probably benefit from the addition of straps.

Pattern Used: McCall's 6956

View Made: B

Fabric Used: Quilting cotton and broadcloth. Just a note about the quilting cotton, I really REALLY wanted to match up the stripes and have it all perfect, but they apparently don't repeat, so there will be no matching. I don't think it really impacted the overall look of the dress too much.

Pattern Details: Strapless, fitted bodice, pleated skirts and hem band. A/B, C, D Cup Size, boning 

What did you like about this pattern? I like that the bust is cut on the bias to give those cool-looking chevrons.

What did you dislike about this pattern? Not much. I did have to do something that I didn't want to, which was sewing the lining pieces directly to my good fabric and then treating them as one piece. That was SO INCORRECT, and should never be done in a properly constructed garment, but because of the boning and the pleats, I had no other choice if I wanted to line the dress. And I had to slipstitch the WHOLE HEM BAND in place. It took me at least two hours to do. I HATE slipstitching. Unfortunately, because of how the dress was supposed to look over all, there were no other options, otherwise that hem band would have gone through the machine in an instant. If there was other topstitching, maybe, but there was no other topstitching so I thought it would look stupid to have some along the hem band and nowhere else. 

Were the instructions easy to follow? Yes. The instructions were quite good, however, they seem to forget that on the sides, to insert the boning, you would need to sew right through the dress, not just attach it to the seam allowances, because of the waist seam. I feel this was a minor glitch and my boning inserts along the sides are not noticeable.

What did you learn from this pattern? Inserting boning. It is much easier than I expected and will allow me to create more tailored and fitted garments in the future.

Final thoughts: I don't think I'll make this one again. It's just meh, not amazing, as I wanted it to be. I tried it for the strapless aspect, which worked, but didn't fit as well as it could have. I really wanted to like it, with all the playing with fabric grain, but no. It will go in to a pile to be worn over a bathing suit or some such. Also, I was lucky. Usually I would've made a size 12, but the finished measurements said it would have too much bust ease, so I made a size 10. It fit with only a little let out at the sides, which was nice.

Pictures:
Front View

Close up of  the Bust Chevrons

Back View

Hem Band

Come back for my next post on JEANS! I'm so excited about them. :)

Monday, 14 July 2014

Butterick 5982

This one came out of the "make this in the future" bin, and so I was less than enthusiastic when I was making it. However, it turned out SO WELL!

Pattern Used: Butterick 5982

Pattern Details: Fitted bodice, high boatneck, pleated/gathered skirt, accent belt, A/B, C, D Cup Size

Fabric Used: Linen, with broadcloth lining

View Made: B

What did you especially like about this pattern? I like the contrast skirt and I like that it's not a super-low-cut bodice.

What did you especially dislike about this pattern? Nothing. It was very straightforward.

Did you change the pattern at all? No, except for adding pockets and lining to the skirt.

Were the instructions easy to follow? Yes. However, I found it strange that you sew together the strips of the skirt horizontally and then have to match the side seams. I suppose that is so that it's not crucial that they line up perfectly, but I would have preferred to make the front and the back, then sew them together along the sides.

Did you learn anything from this pattern? Nope. It was pretty easy. 

Final Thoughts: This just turned out super classy and professional and grown-up looking.

Pictures:
I was only able to get one picture of this dress that wasn't blurry. Here it is!

Tuesday, 1 July 2014

Butterick 6049

Ok. I love how this dress looks on the model. I obviously do not have the model's figure as I had MAJOR fit problems with this dress. Read on to find out why.

Pattern used: Butterick 6049

Patten Details: Fitted, halter top bodice, circle skirt and pockets.

Fabric used: Red and white polka dot quilting cotton and white broadcloth

What did you especially like about this pattern? The halter top. I've never made and very seldom wear halter tops.

What did you especially dislike about the pattern? The fit after I sewed it all up. I made my customary size 12, but it only half fit. The waist fit perfectly, but the bodice was designed for someone with a much bigger bust than me. The back gaped about three inches (which I ended up taking out at the zipper) and the halter top ends were much too long. I ended up overlapping them by about two inches. The dress now fits decently, but still not perfectly. It also has a rumple-y waist, that I don't think I can fix. There just seems to be a little too much fabric under the bust. Also, when attaching the halter pieces to the midriff, it was almost impossible to get the two white points to line up correctly. I gave up after about five tries, but they are still slightly off-kilter.

Did you change the pattern at all? Nope, except for the above-mentioned alterations

Did you learn anything from this pattern? Nope. Except that it reinforced that I DISLIKE slipstitching.

Final thoughts: I really wanted to like this dress. It's so cute in the pictures. But I don't really. It looks nice NOW but it was a hassle to alter it. Especially because I took it in to fit my dress form, and it STILL had extra fabric in the bust area. I'll wear it, because it does look nice now, but I'll need some time to get over how much extra work I had to put in to it.

Pictures:

Front view


Back View
 
Also, I'll be taking a small hiatus from posting for a while. Keep checking back, hopefully I'll be posting again in a couple of weeks!